

Introduction
In this guide, you will build a demo site with nextjs and Crossmint’s payment button. You can follow step-by-step below or simply clone this repo to be up and running immediately.Prerequisites
- Create a developer account in the Staging Console.
- Create a new collection or import yours into the console and have your
projectIdandcollectionIdready.
To integrate in production/mainnet, you'll also need to complete account and collection verification. More
information on the production launch guide.
For EVM, this guide uses a collection deployed from the Crossmint developer console, which only requires a
recipient parameter. For more advanced contracts, check the SDK
reference.Integration Steps
This guide will start from scratch with an empty Next.js application. You'll install the required@crossmint/client-sdk-react-ui dependency and add the embedded checkout component. To get started:
Set up the Project
1
Create a new Next.js application
y and press Enter to proceed:2
Name your app `crossmint-embedded-checkout-demo` and accept the default options
3
Change into the directory created in previous steps
4
Install @crossmint/client-sdk-react-ui
5
Open the project in your preferred code editor
Integrate the Payment Button
1
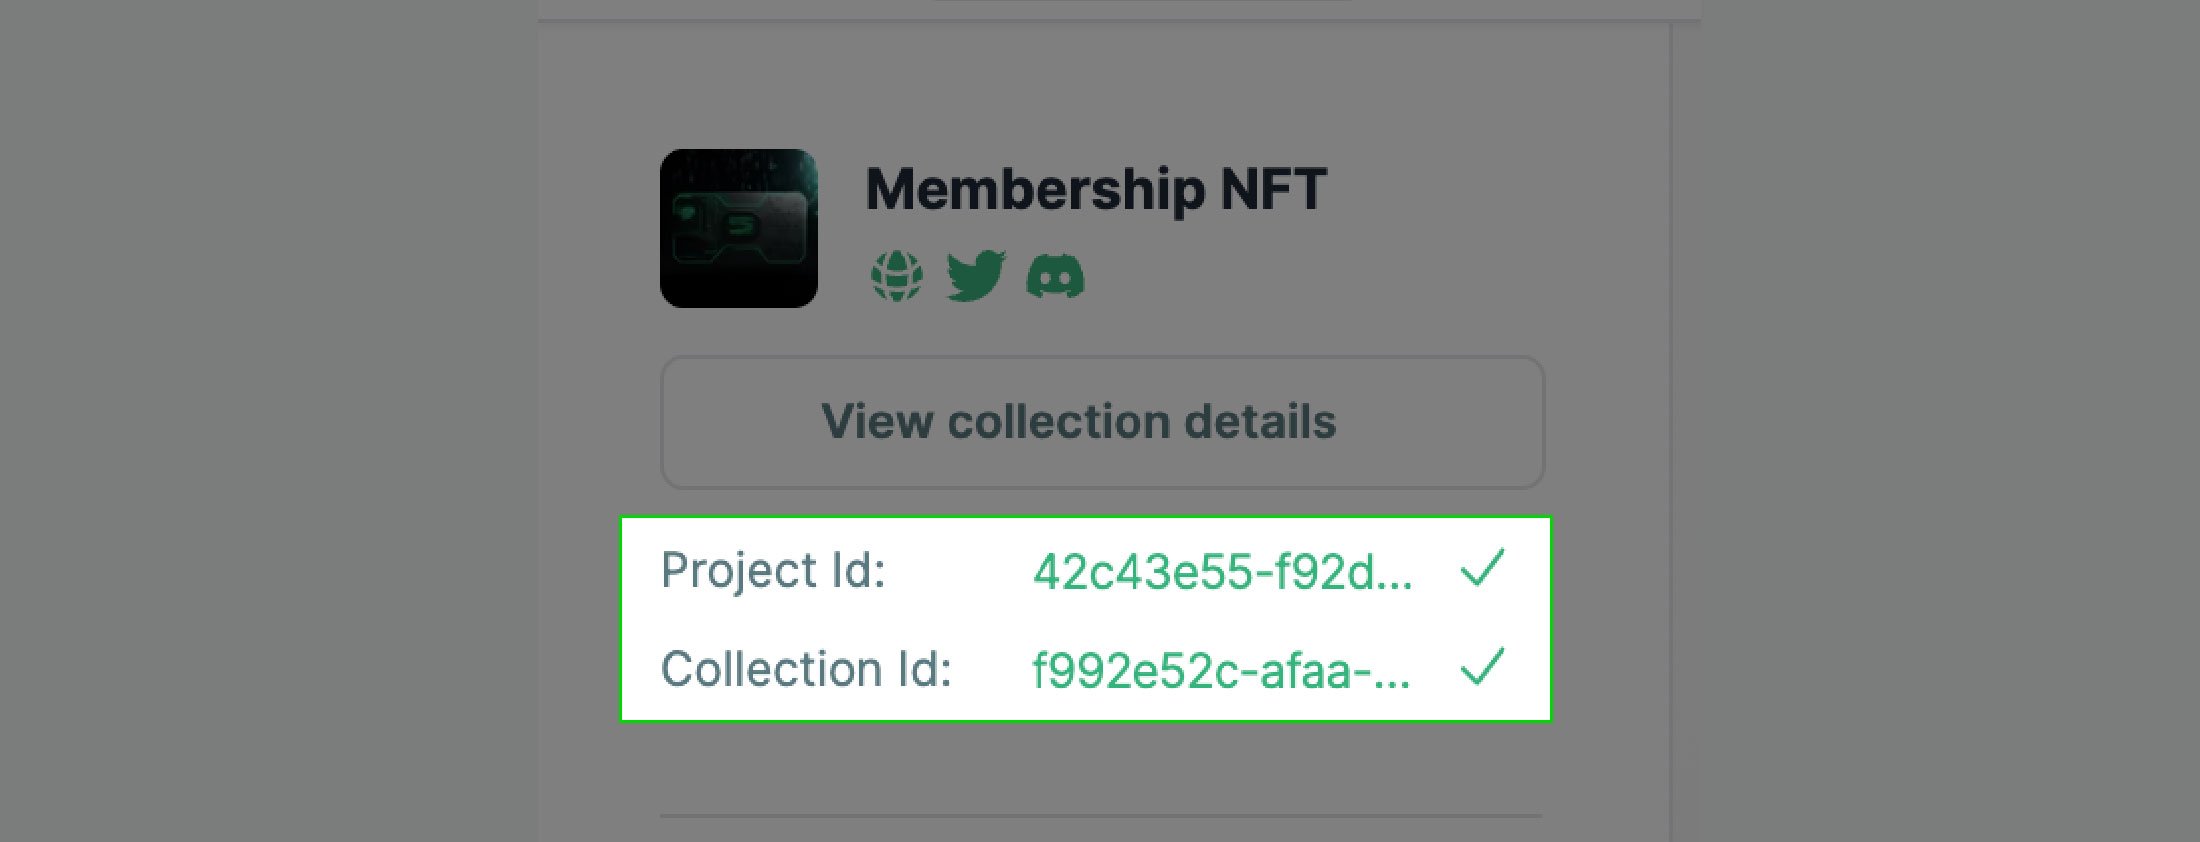
Obtain your `projectId` and `collectionId` from your collection detail view in the console
2
Add a new file named `.env.local` to root directory of your project
Configure your environment variables with the values from Step 1.
These values are not sensitive and can be used client-side.
.env.local
3
Open the `/src/app/page.tsx` file in your editor
Replace the entire contents with the following:
4
Run the application from your terminal
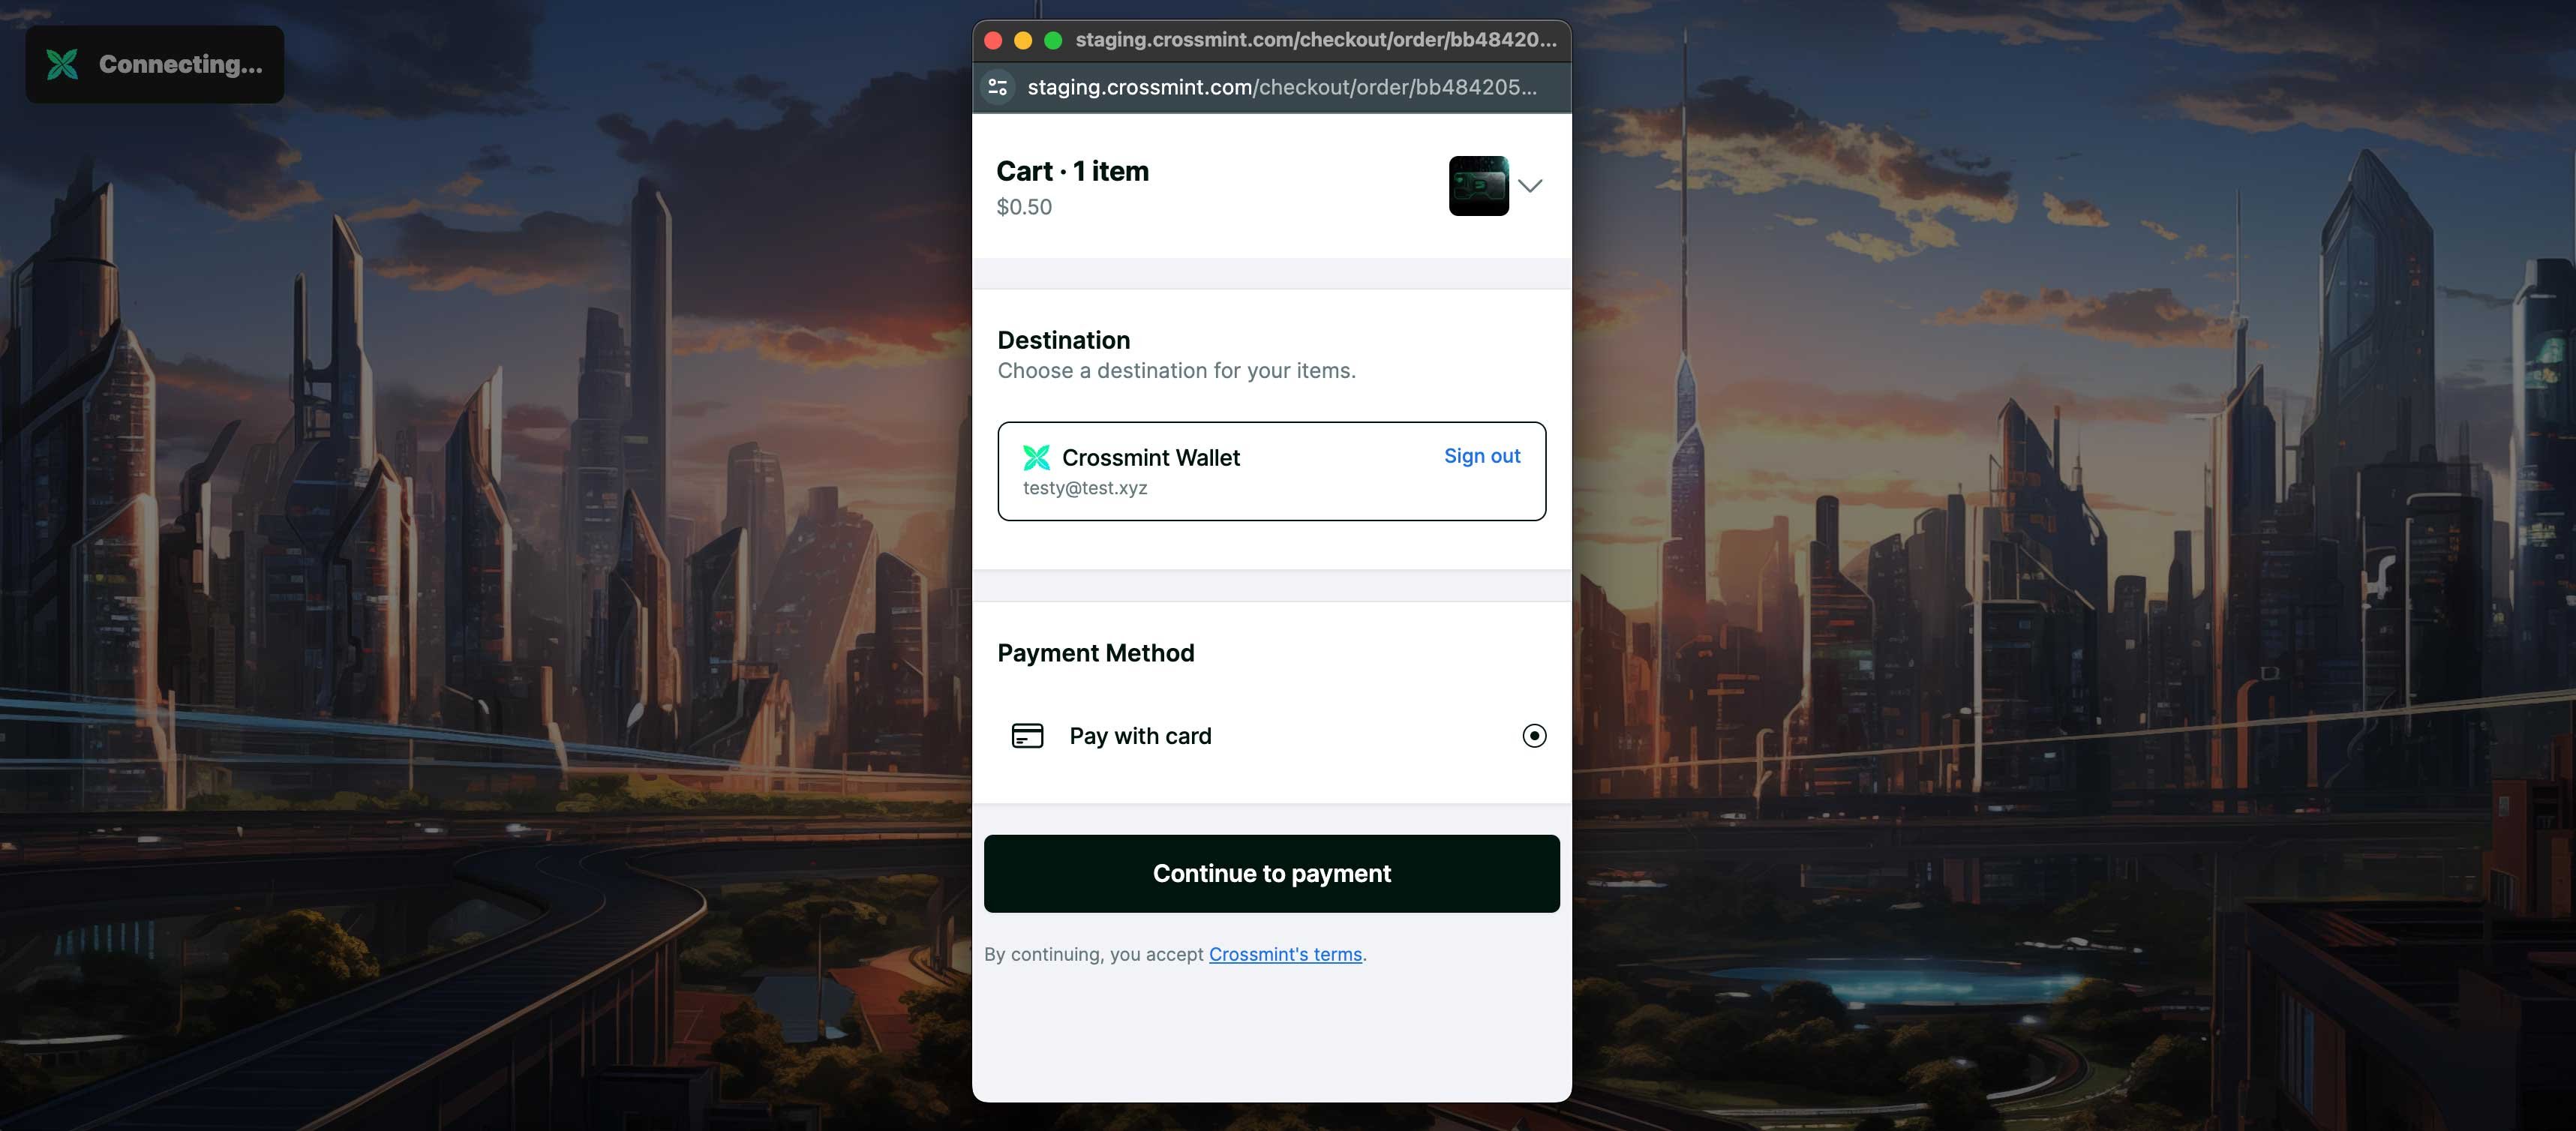
http://localhost:3000/. The Hosted Checkout Button will appear in the top left of the browser. You can click it to open the checkout popup and ensure everything is configured properly.