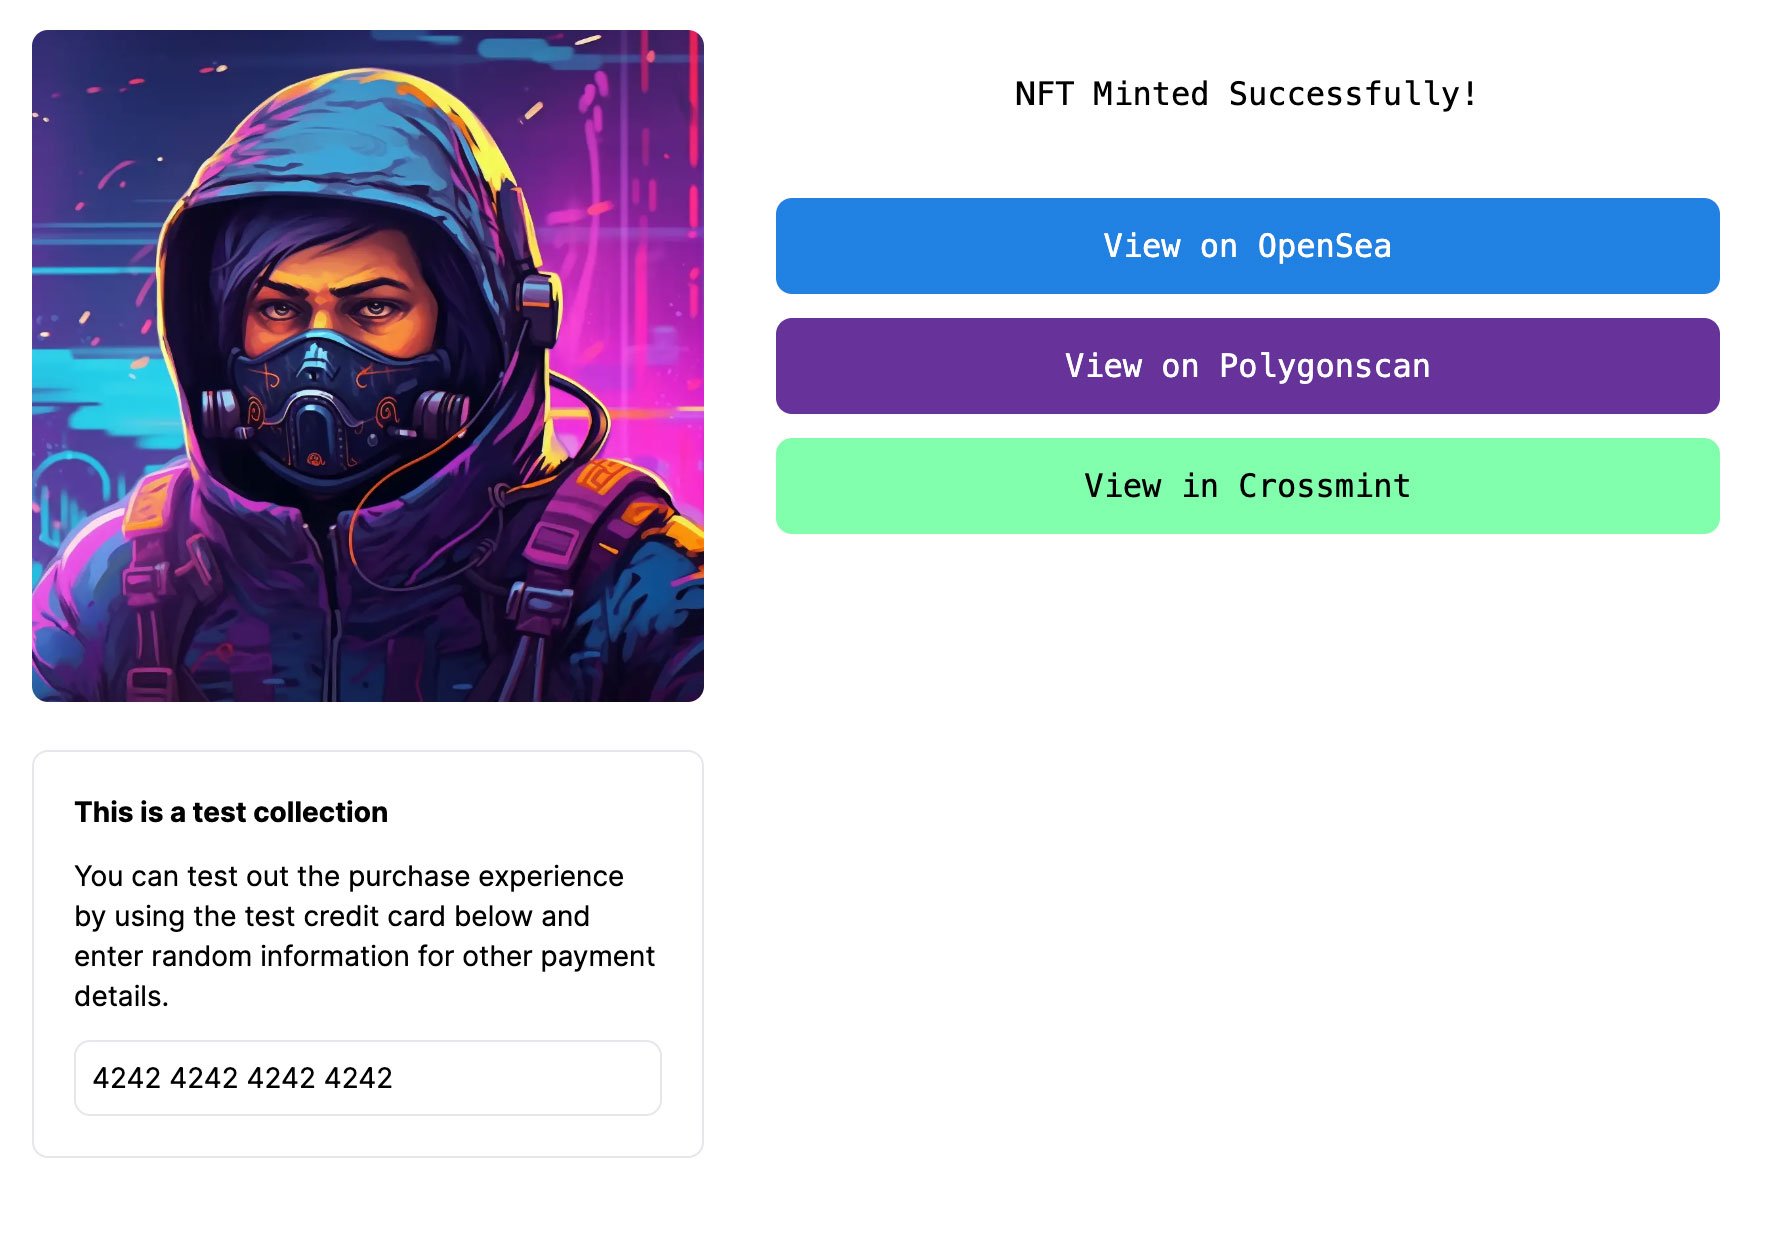

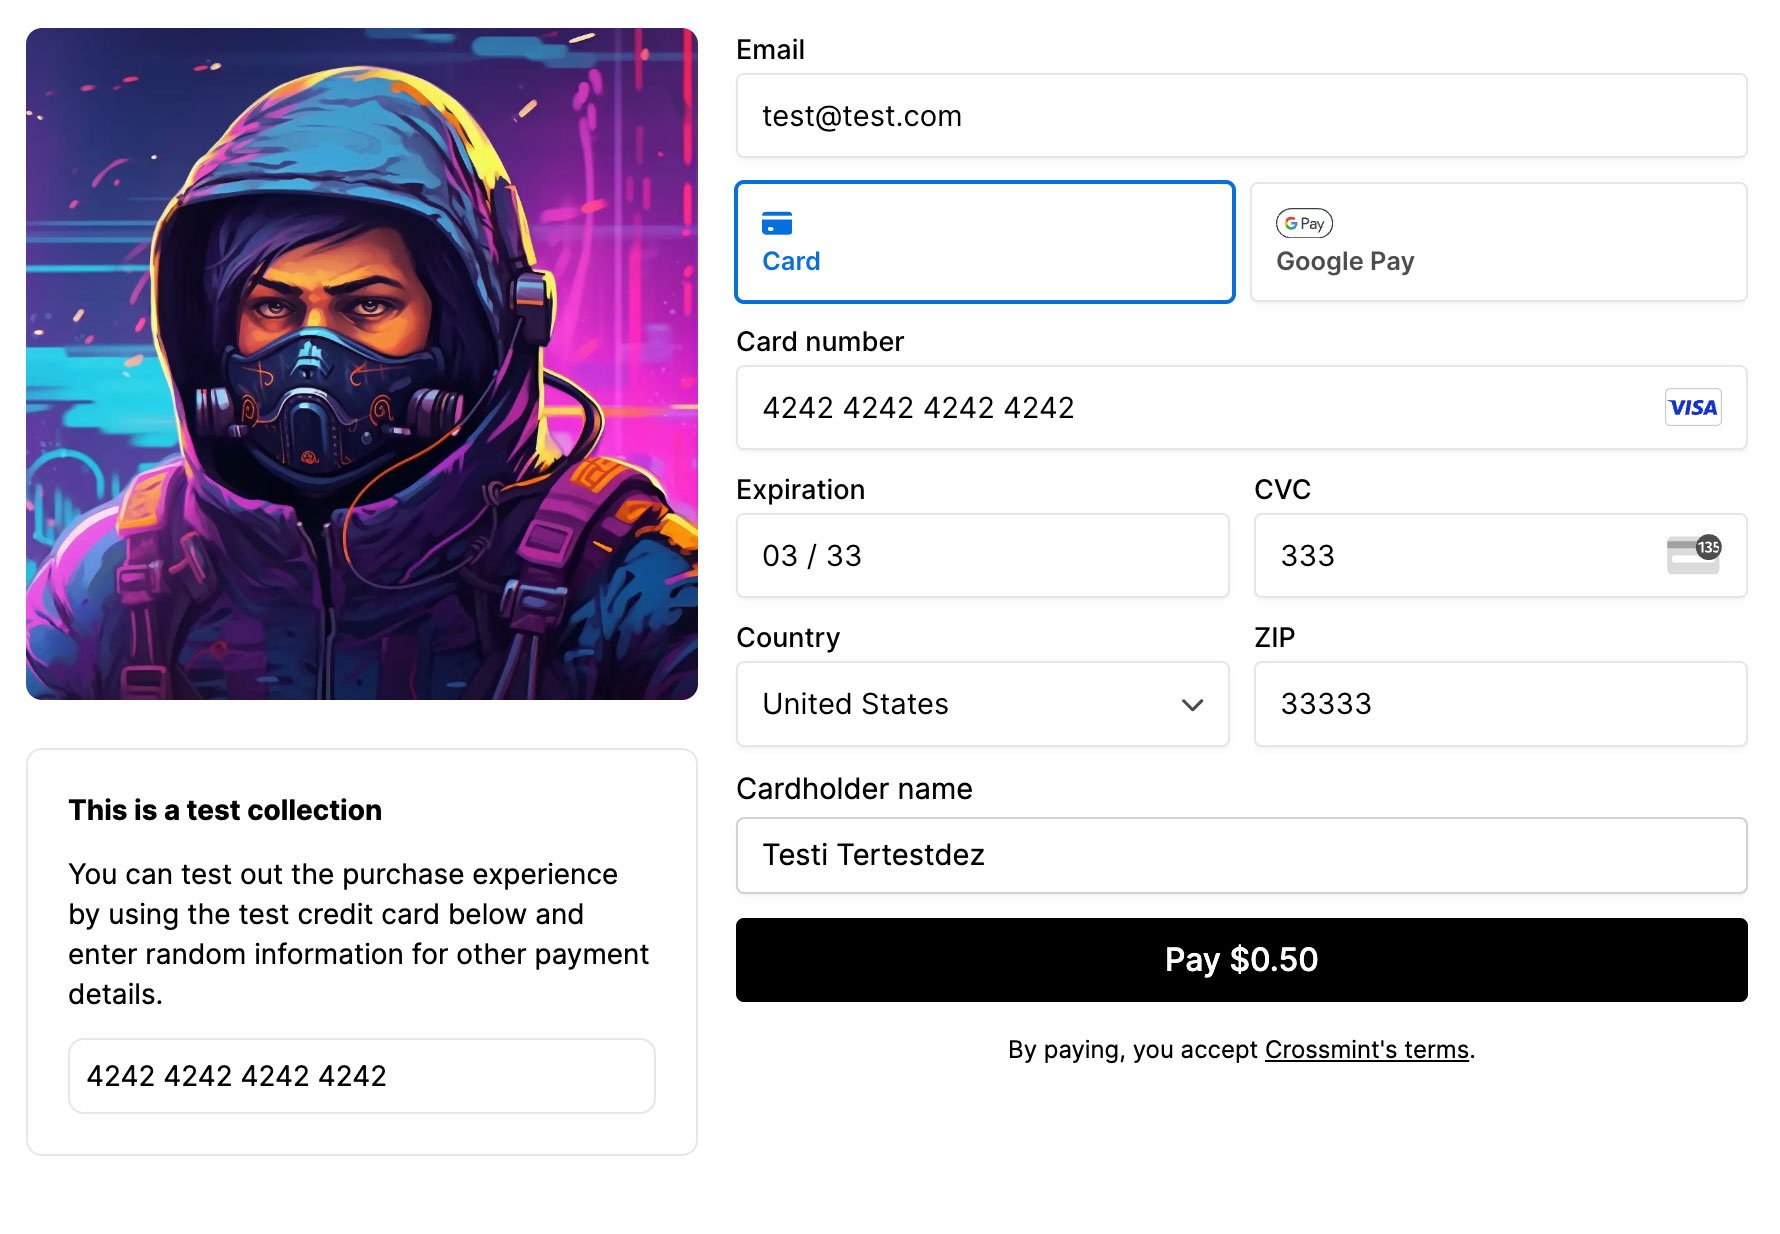
You will build this demo
Introduction
In this guide, you will build a demo site with nextjs and Crossmint’s embedded digital asset checkout. You can follow step-by-step below or simply clone this repo to be up and running immediately.Prerequisites
- Create a developer account in the Staging Console.
- Create a new collection or import yours into the console and have your
projectIdandcollectionIdready.
To integrate in production/mainnet, you'll also need to complete account and collection verification. More
information on the production launch guide.
For EVM, this guide uses a collection deployed from the Crossmint developer console, which only requires a
recipient parameter. For more advanced contracts, check the SDK
reference.Integration Steps
This guide will start from scratch with an empty Next.js application. You'll install the required@crossmint/client-sdk-react-ui dependency and add the embedded checkout component. To get started:
Set up the Project
1
Create a new Next.js application
y and press Enter to proceed:2
Name your app `crossmint-embedded-checkout-demo` and accept the default options
3
Change into the directory created in previous steps
4
Install @crossmint/client-sdk-react-ui
5
Open the project in your preferred code editor
Integrate the embedded checkout
1
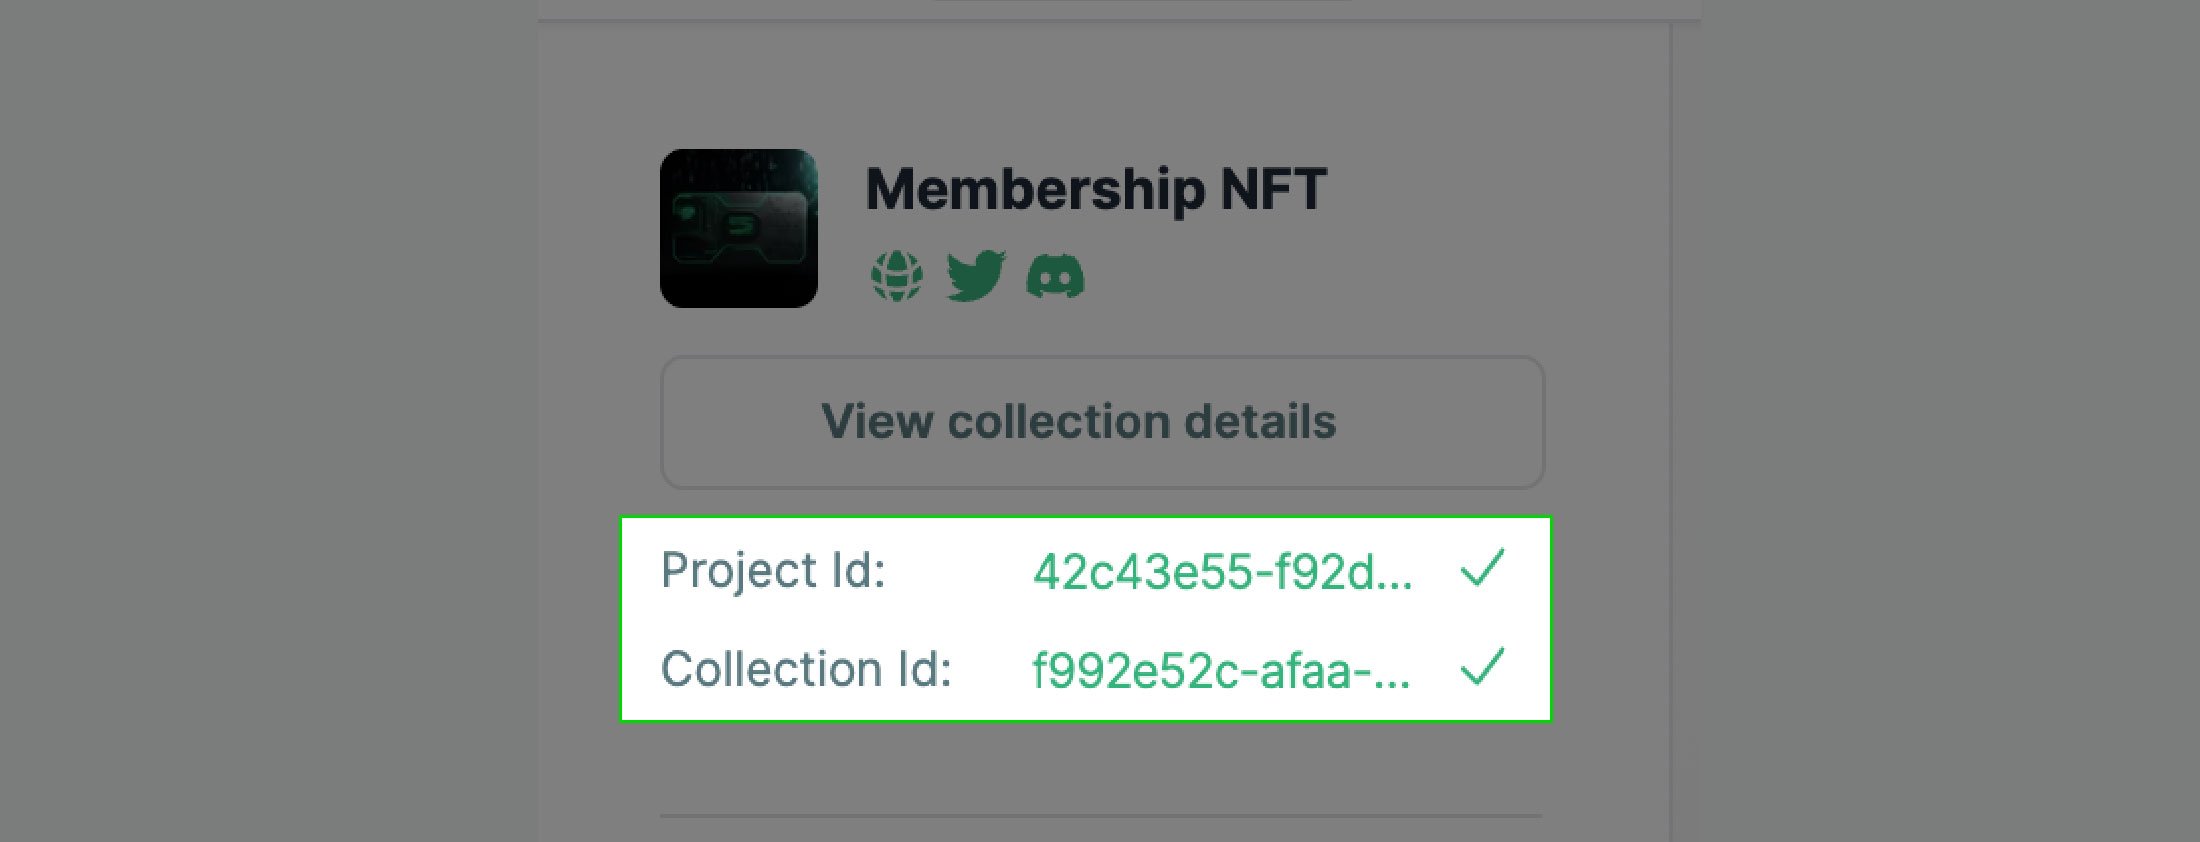
Obtain your `projectId` and `collectionId` from your collection detail view in the console
2
Add a new file named `.env.local` to the root directory of your project
Set your environment variables with the
projectId and collectionId values obtained in Step 1These values are safe to use in the client side of your application and are not considered sensitive.
.env.local
3
Open the `/src/app/page.tsx` file in your editor
Replace the entire contents with the following:
cardWalletPaymentMethods allows you to configure Apple Pay and Google Pay for the checkout. Please ensure that you restrict the experience to only show Apple Pay on compatible browsers and devices. If only Apple Pay is allowed, users will not be able to use the checkout on non-Safari browsers and other incompatible devices.If you are only displaying Google Pay and Apple Pay, an email input is not required. You can set show to false under emailInputOptions. You can also choose to hide the card form if you are only displaying Google Pay and Apple Pay, click here to learn more.4
Run the application from your terminal
http://localhost:3000/.
The Crossmint Embedded digital asset checkout will now function correctly, but is missing some important features such as UI updates based on the payment status, and handling error states. The following sections will expand on the work you have done so far to incorporate these missing features.
Organize Project Files
Before proceeding, take a moment to organize the project files as follows:Organize the Project Files
Organize the Project Files
Create a new 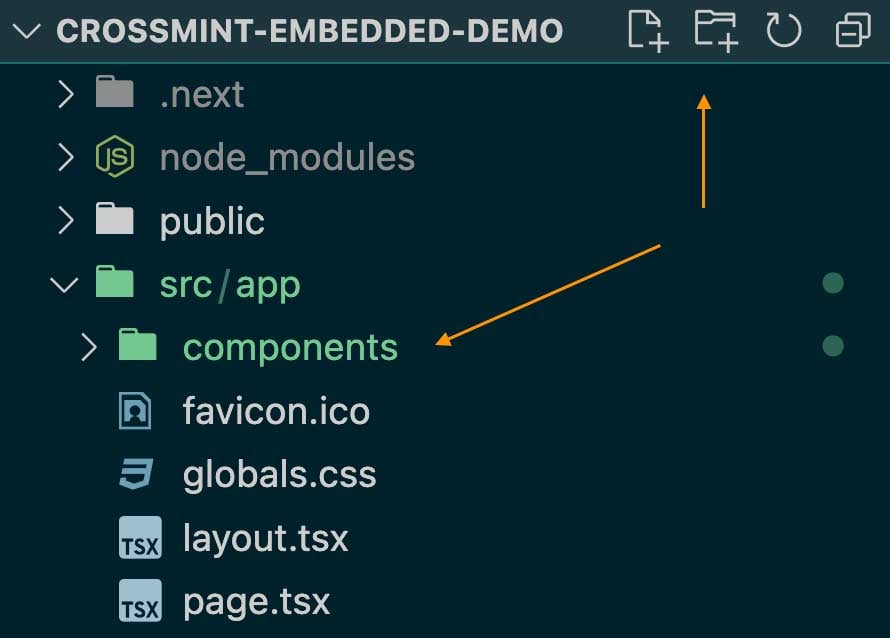
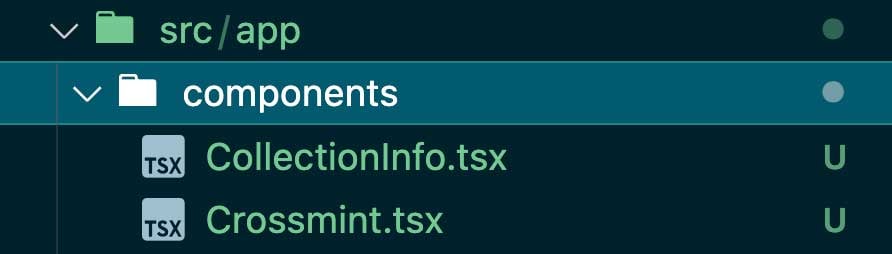
components folder within the /src/app folder of your project.components folder add two new files named:Crossmint.tsxCollectionInfo.tsx
Set a collection image
Set a collection image
If you want to display a collection picture, download the image below, name it 
ninjanaut.jpg, and save it in the /public folder.Update the UI based on the purchase status
Events will notify you of the purchase processing status. You can use these updates to build interactive experiences. The following steps will show you how to listen to events and update your website based on their content.1. Listen to Payment Events
1. Listen to Payment Events
Payment events provide updates on the status of payments. You can subscribe by adding an
onEvent handler to the CrossmintPaymentElement. The example above already includes the handler in Crossmint.tsx, with logic to log all events to the console.Try it out by opening your javascript console, interacting with the form, and observing the corresponding events being logged to the console.The payment:process.succeeded event will fire when the payment has been successfully captured.2. Display the Progress
2. Display the Progress
In this step, you will replace the checkout form with a loading component, to notify the user the purchase is in progress.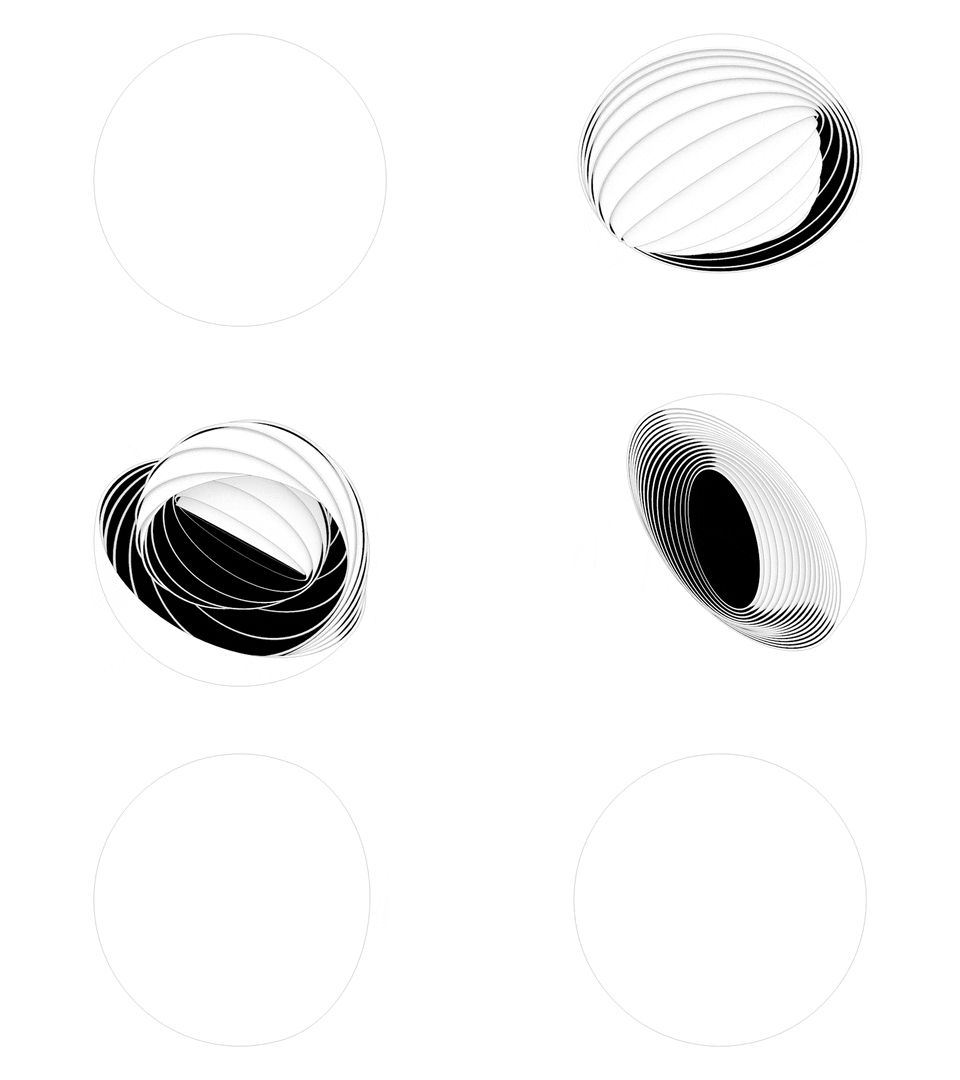
- Create a new file named
Minting.tsx, in the same components directory, with the code below. - Update the
Crossmint.tsxfile with the code on the other tab below. - Download this loading sphere animation, name it
sphere.gif, and save it to the/publicfolder.
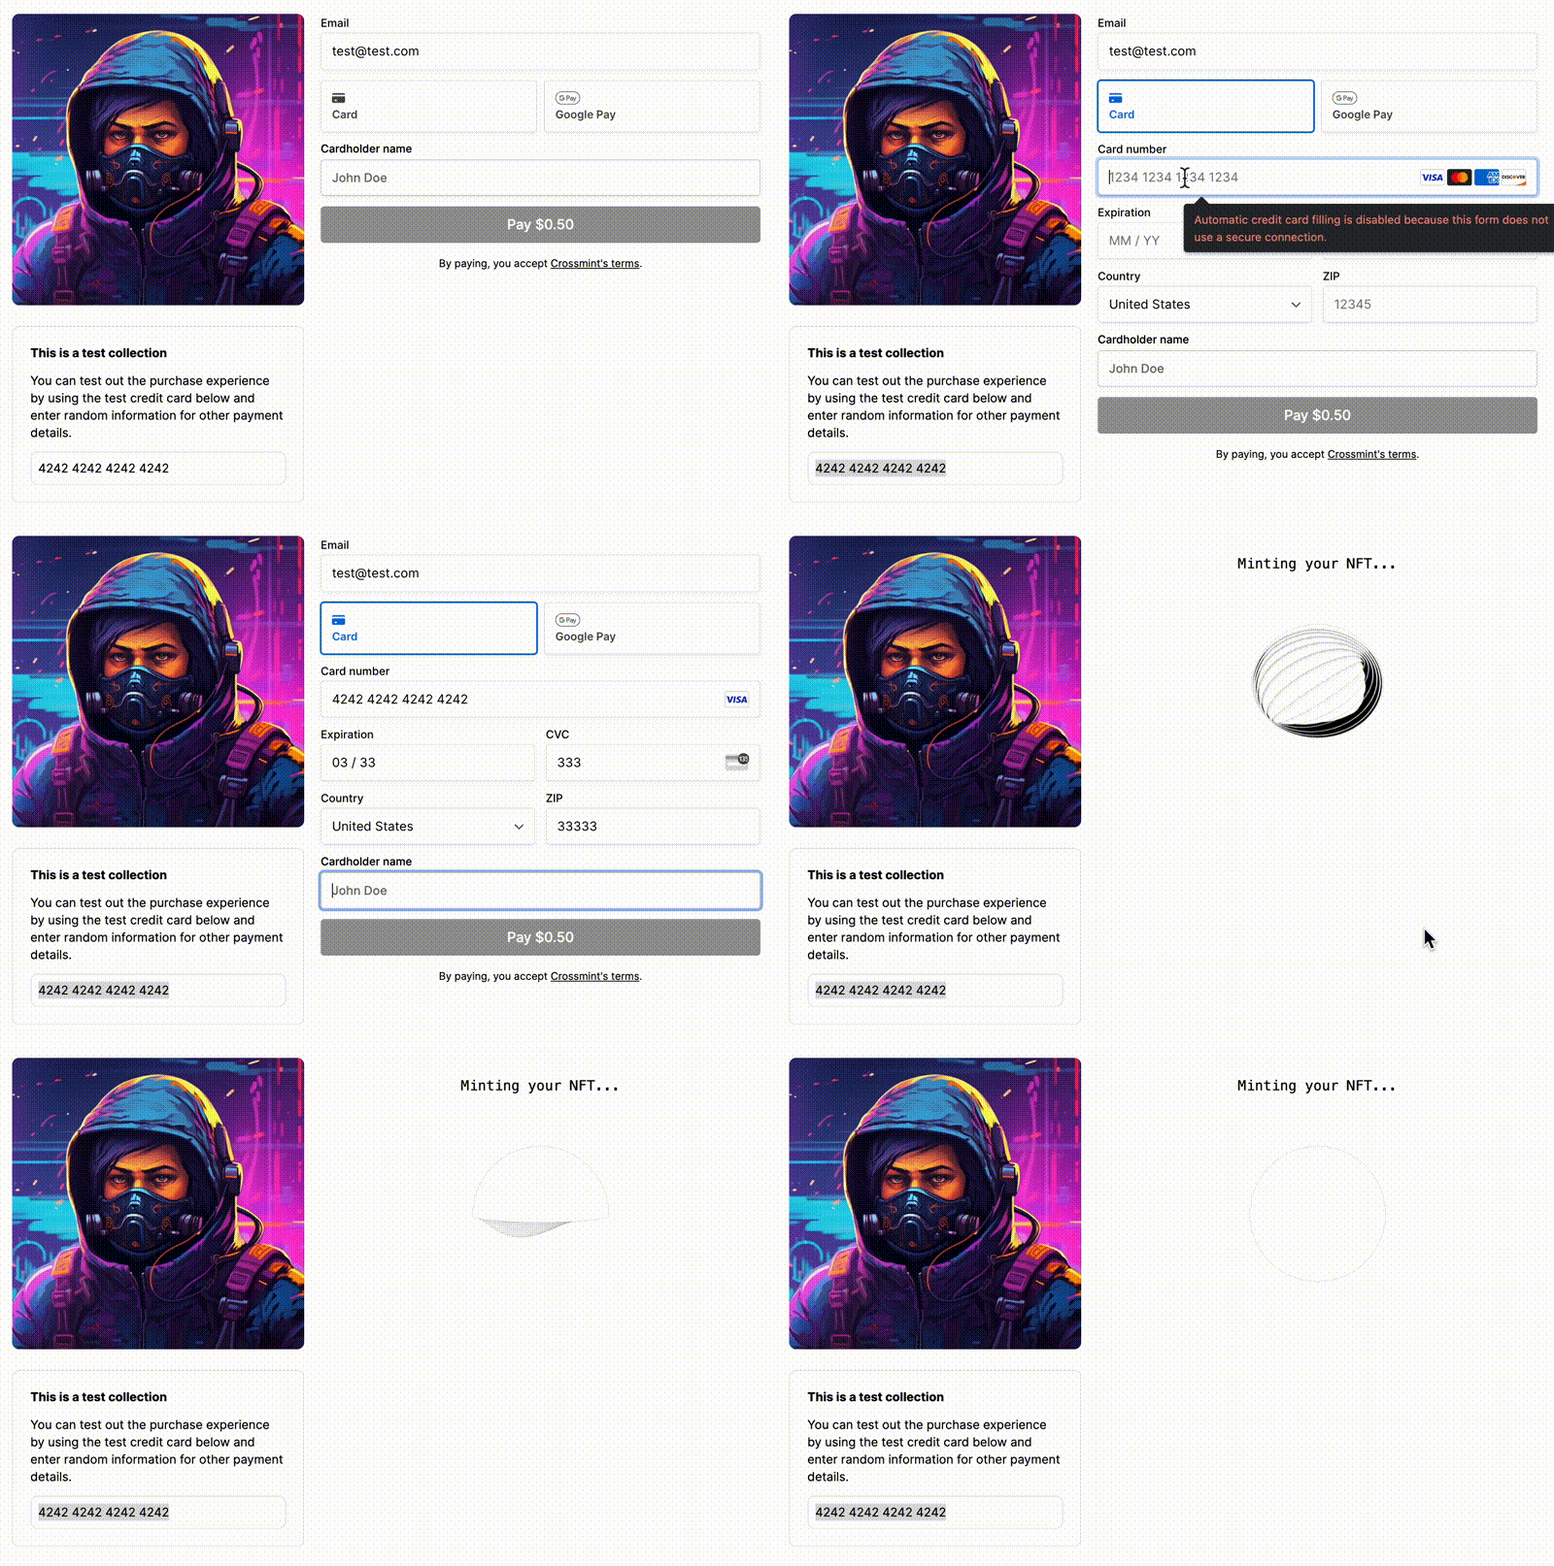
4242 4242 4242 4242, with any arbitrary data for the other fields. You should see something like the following flow:3. Show Minting Status
3. Show Minting Status
Next, you will listen to mint events to get notified when the digital asset has been successfully delivered. These events will return the transaction ID, which you can use to generate a link to view the digital asset on OpenSea, PolygonScan, and Crossmint.To do this, ensure your app matches the directory structure listed below, and update the
Minting.tsx file as outlined in the second tab.All Set!
You can now perform an end-to-end test of a purchase in your browser. You should end up with the following successful screen with links to view the digital asset.Remember this demo is built on staging, so the digital assets will show up on the testnets. To launch on production,
check the production launch checklist. You will need to contact
Sales to enable the embedded checkout on production.